The weather has been somewhat unpredictable lately, so the maiden voyage has been postponed a couple of times. Today is the day – sun and a high temp in the 50s.
I think the handlebar and levers are pretty close to their final positions, but I haven’t wrapped the bars yet. Today’s ride will tell me if any adjustments need to be made.
I’m going to try 45F/50R tire pressures for today. That’s probably higher than I will run at Unbound Gravel, but it’s just a starting point, not the end.
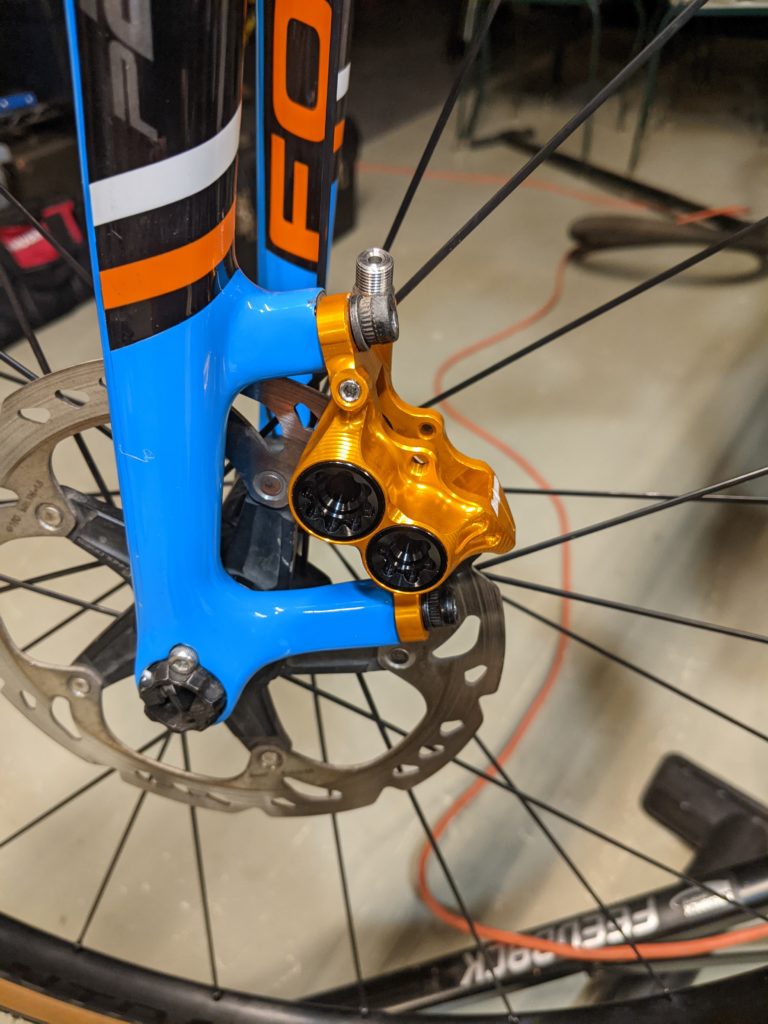
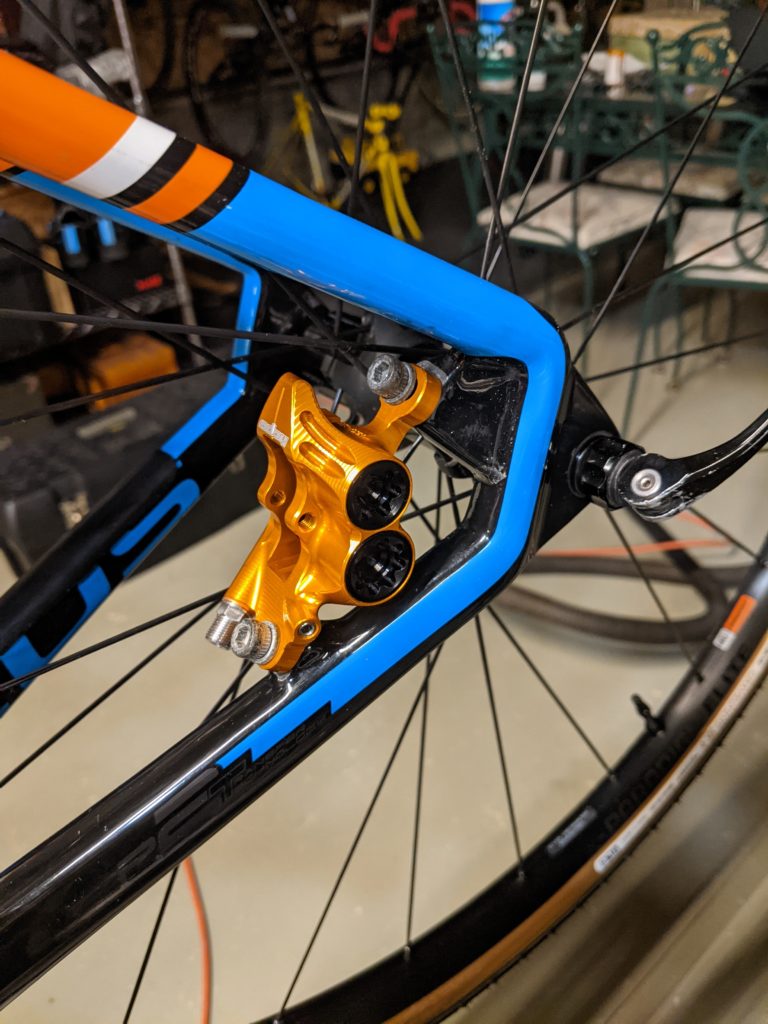
I’m really looking forward to the ride. It seems like this build has taken a long time, but in reality it has not. Mounting the tubeless tires was a frustrating exercise, but I learned how to get it done, so that’s a plus. The hydraulic brakes were a bit frustrating for a couple of reasons. First, the Shimano BH90 hose kit didn’t have enough hose to do the front and rear brake. Coming from brake/housing kits for rim brake bikes that have enough housing and cables to completely replace both brake sets, this was really annoying. There’s not really much of an excuse to short the consumer in this way. Secondly, there are tools that make the job much easier, but they aren’t cheap. Since this is (hopefully) a one-time task, I chose to have a bike shop install the hoses.
I’ll report back after the ride, and add some photos too. Once I get the bars and levers in their final positions, I’ll wrap the bars and this build will be done.
No major issues during the ride, but I had to tighten the levers after the first mile or so. They would twist inwards but not outwards. Took a couple of minutes but after that all was good. The bike rides well, the 45F/50R tire pressures worked well for pavement. Will probably lower the pressure 5 psi or so for gravel and see how it rides.
The bar position is fine, no change needed. The bars are wider than I used to, and the lower part of the drops twists out even further. I’m not used to them yet, but riding in the drops wasn’t uncomfortable, just unusual. Give me some time on this one. I have a drop bar that’s 42cm wide, and I might decide to use it instead.
The pedals aren’t the ones I will use going forward but I had them so I used them. Pedals are pretty much pedals. No issues shifting or braking, I did a couple of hard stops to heat up the pads, and then a couple of long brake applications as well. No squealing or chattering – this is with the organic pads (not the sintered pads). The BB is working well, no squeaking at all, just smooth rotation as you’d expect.
The chain lube seems to be working very well. No noise from the chain, and wiping a finger on the chain after the ride showed clean. No black streaks like wet lubes generally leave. One ride doesn’t make a very complete evaluation, but the next few rides should give me a pretty good idea if it will live up to the advertising and the online reviews.
Sorry, no photos tonight. It’s too dark. I’ll take some first chance I get and post them.